

At GymMaster we’re all about setting up our clients to be efficient in managing their club, but we understand everyone is different and that requires GymMaster to be versatile and easy to integrate with your other business software. Not everyone is a developer and knows how to set up these apps using our API (click here to learn about our API), which is why we have set up GymMaster with zapier.
Zapier allows everyday computer users to easily create tasks linking different applications and software removing unnecessary manual labour and saving your club administrative time. To find out what this new integration means for your business click here to view our recent blog post on the matter.
Setting up GymMaster with Zapier is easy and only takes a couple of minutes to set up. In this example we will be Setting up GymMaster with Zapier and then creating our first Zap .
Follow these steps to setting up your first GymMaster Zap.
Step 1: Create your Trigger
1: Create and log in to your Zapier account
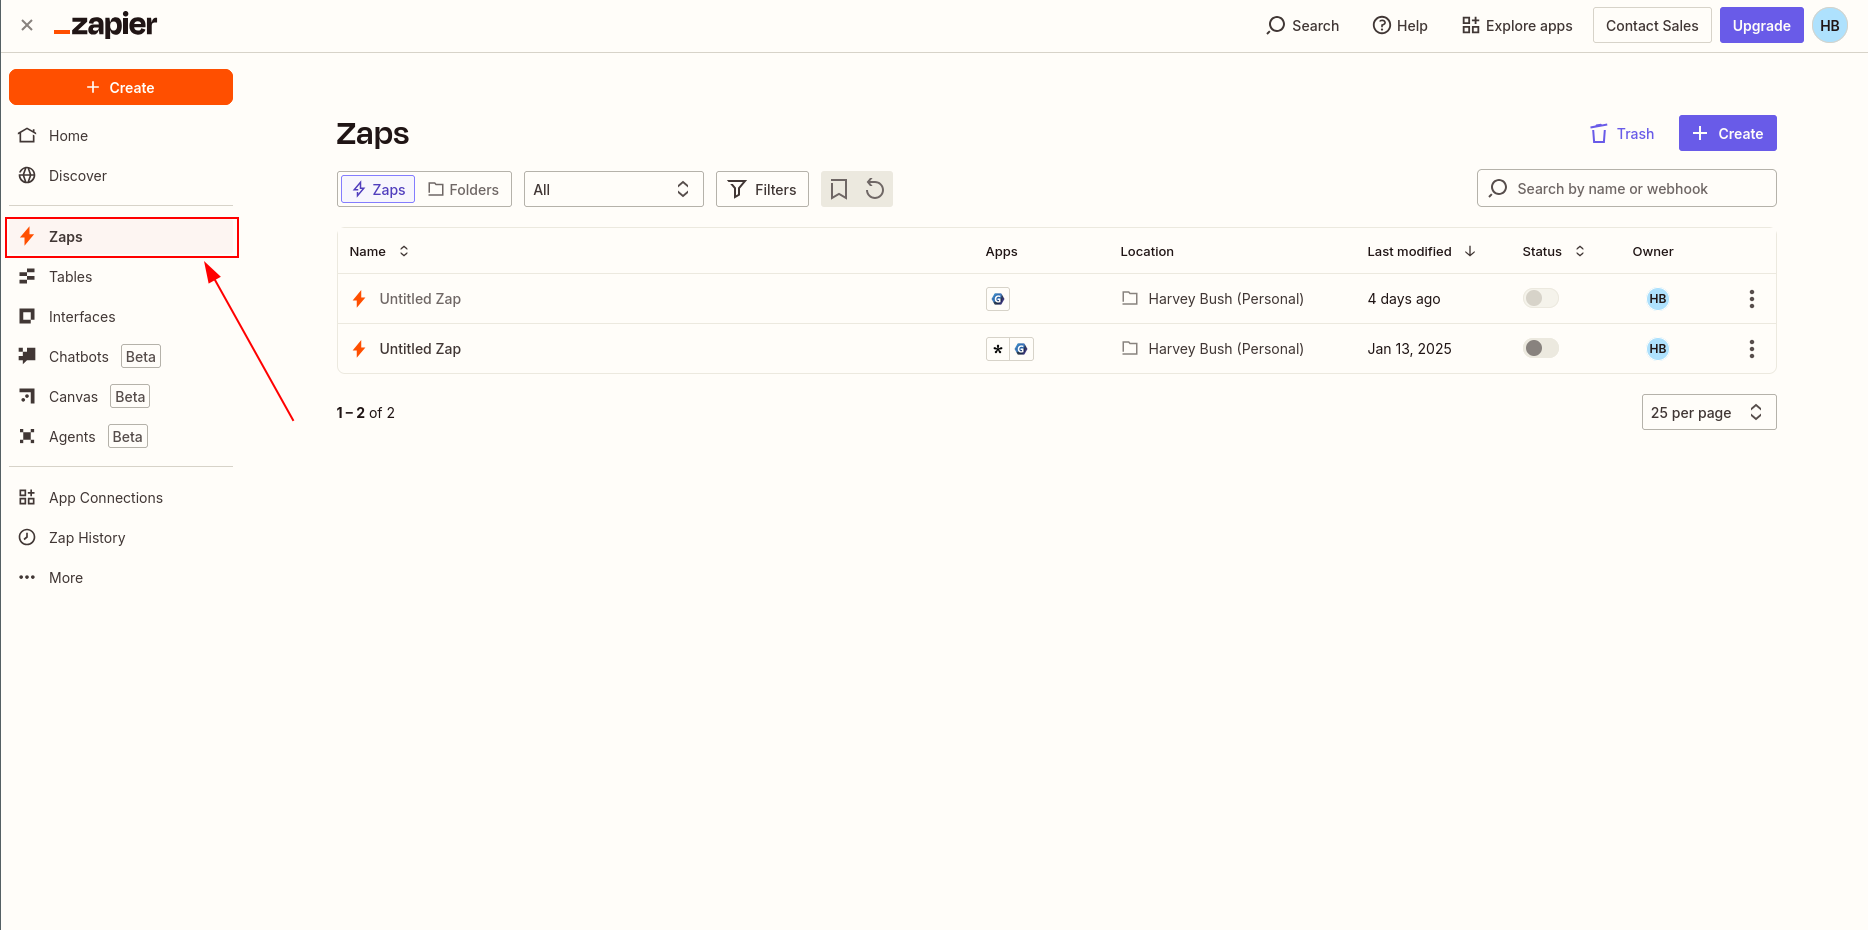
2: Open your Zaps page
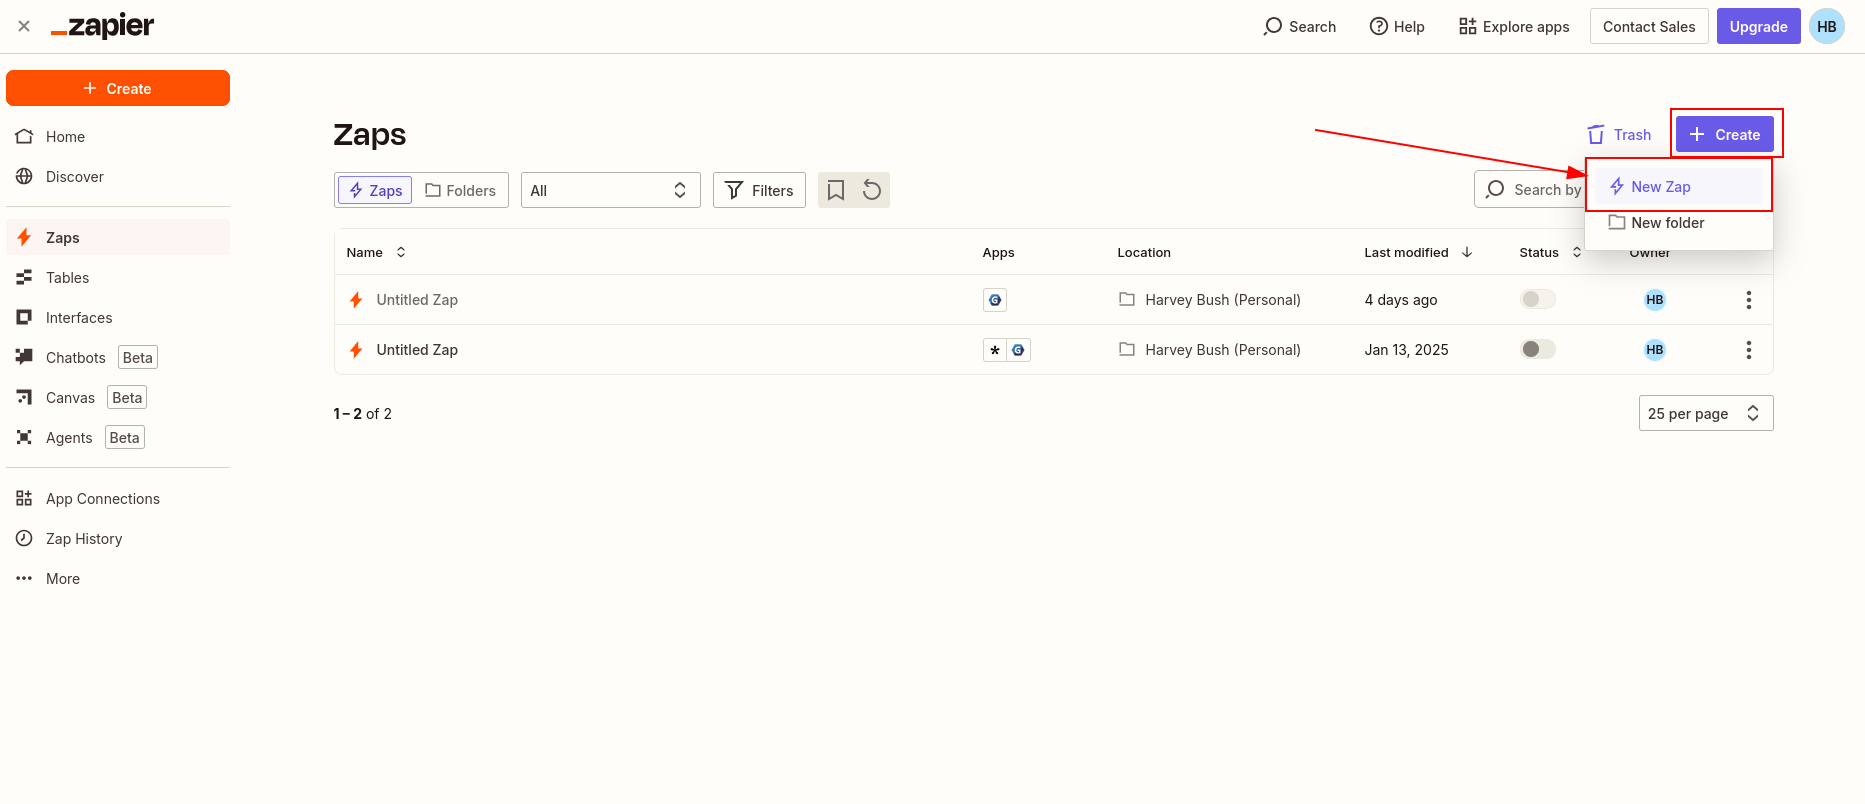
3: Click make a new Zap
4: Search for GymMaster in the Trigger Apps
5: Select GymMaster
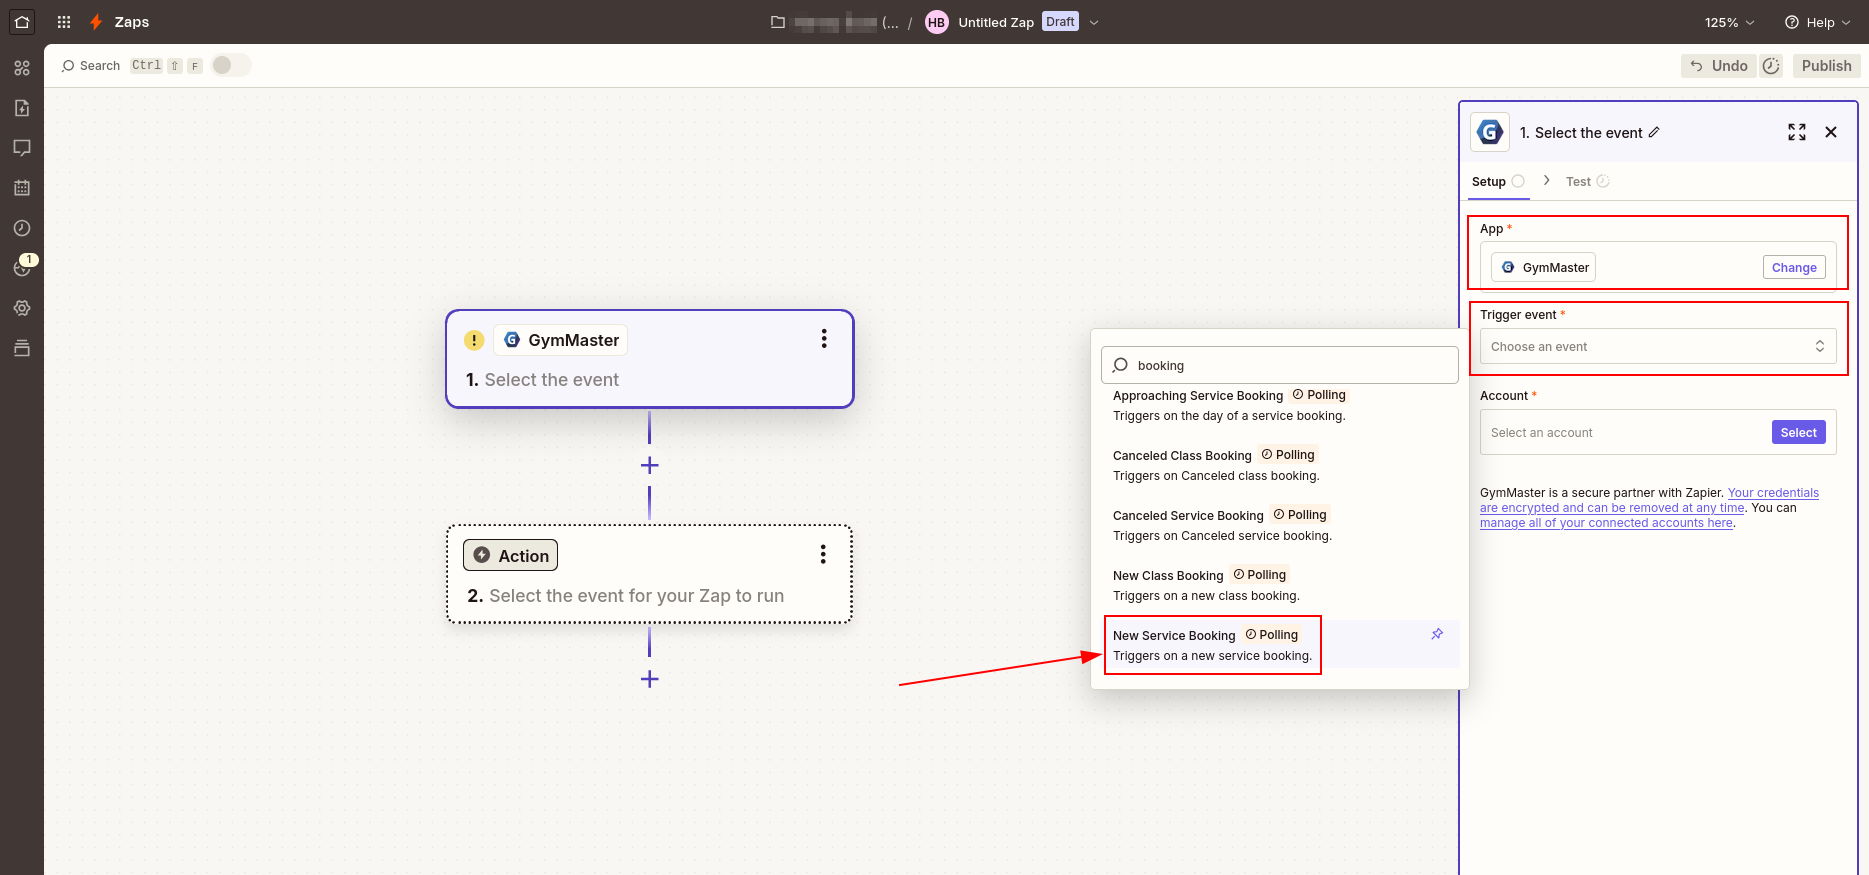
6: Choose New Booking as the trigger
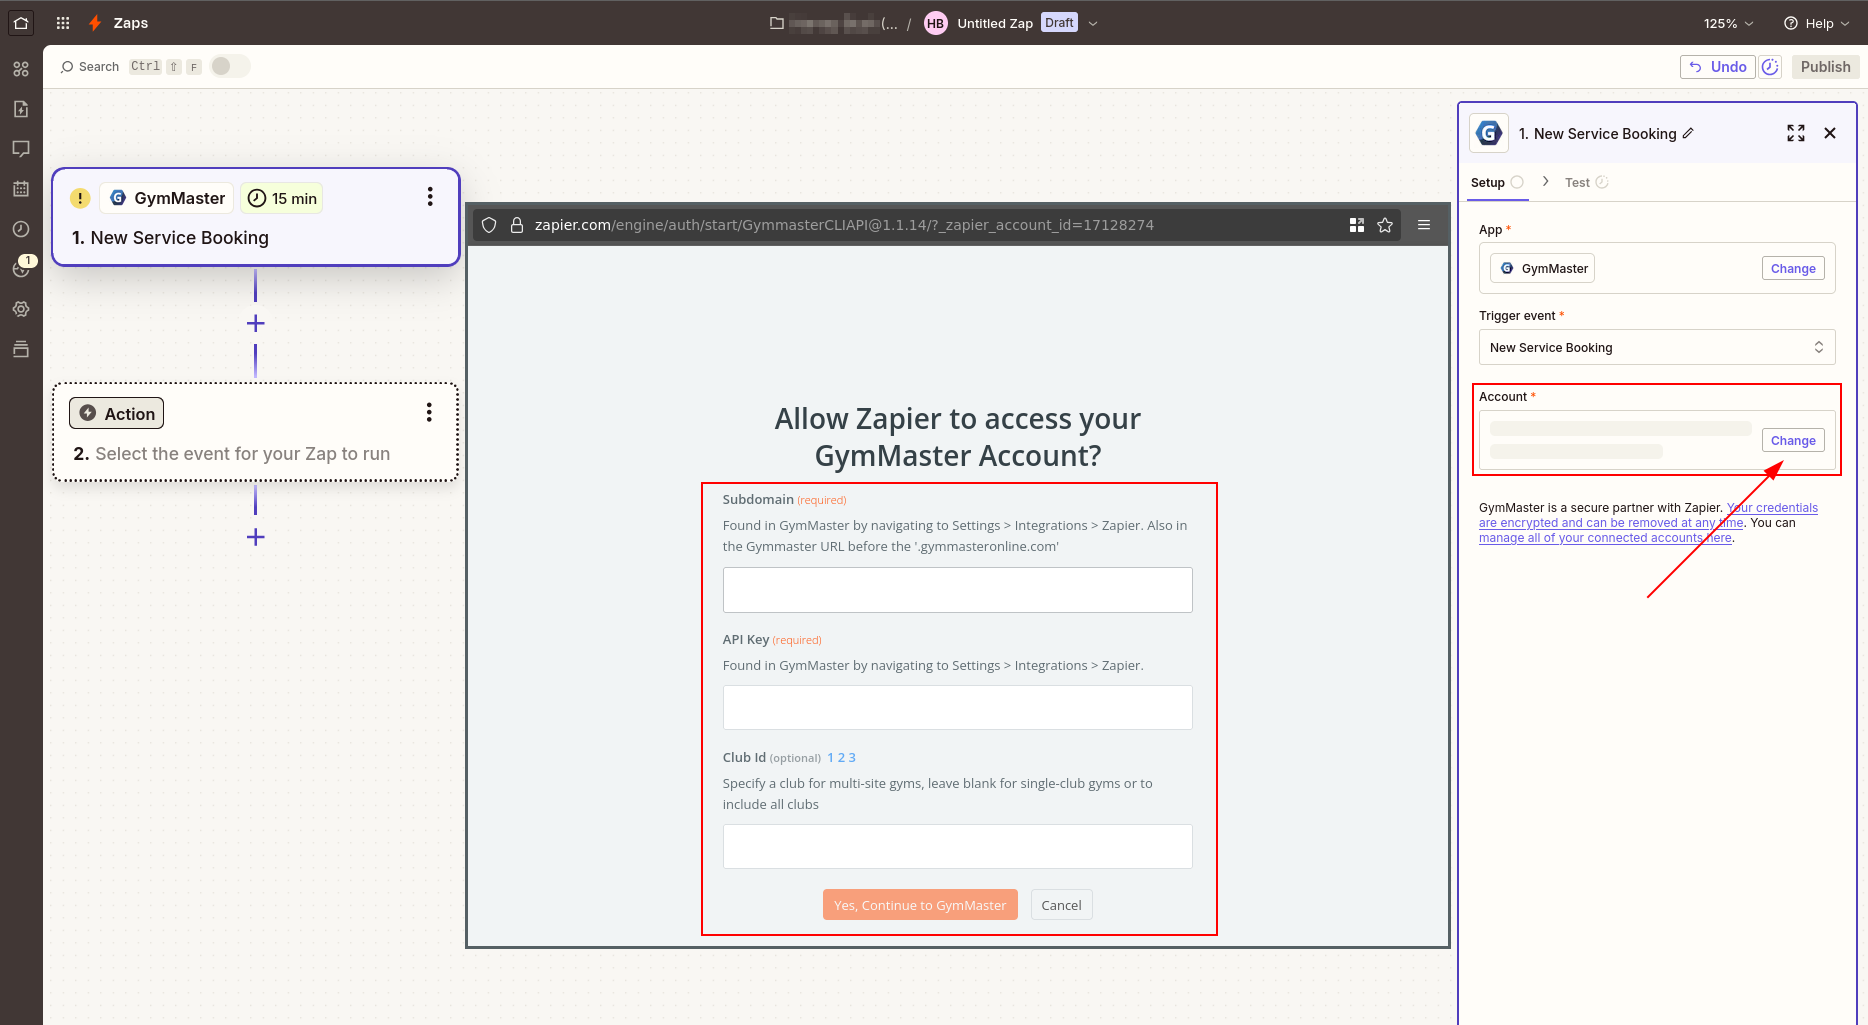
8: Connect an Account
9: Open your www.gymmasteronline.com account
10: Click Settings > Integrations
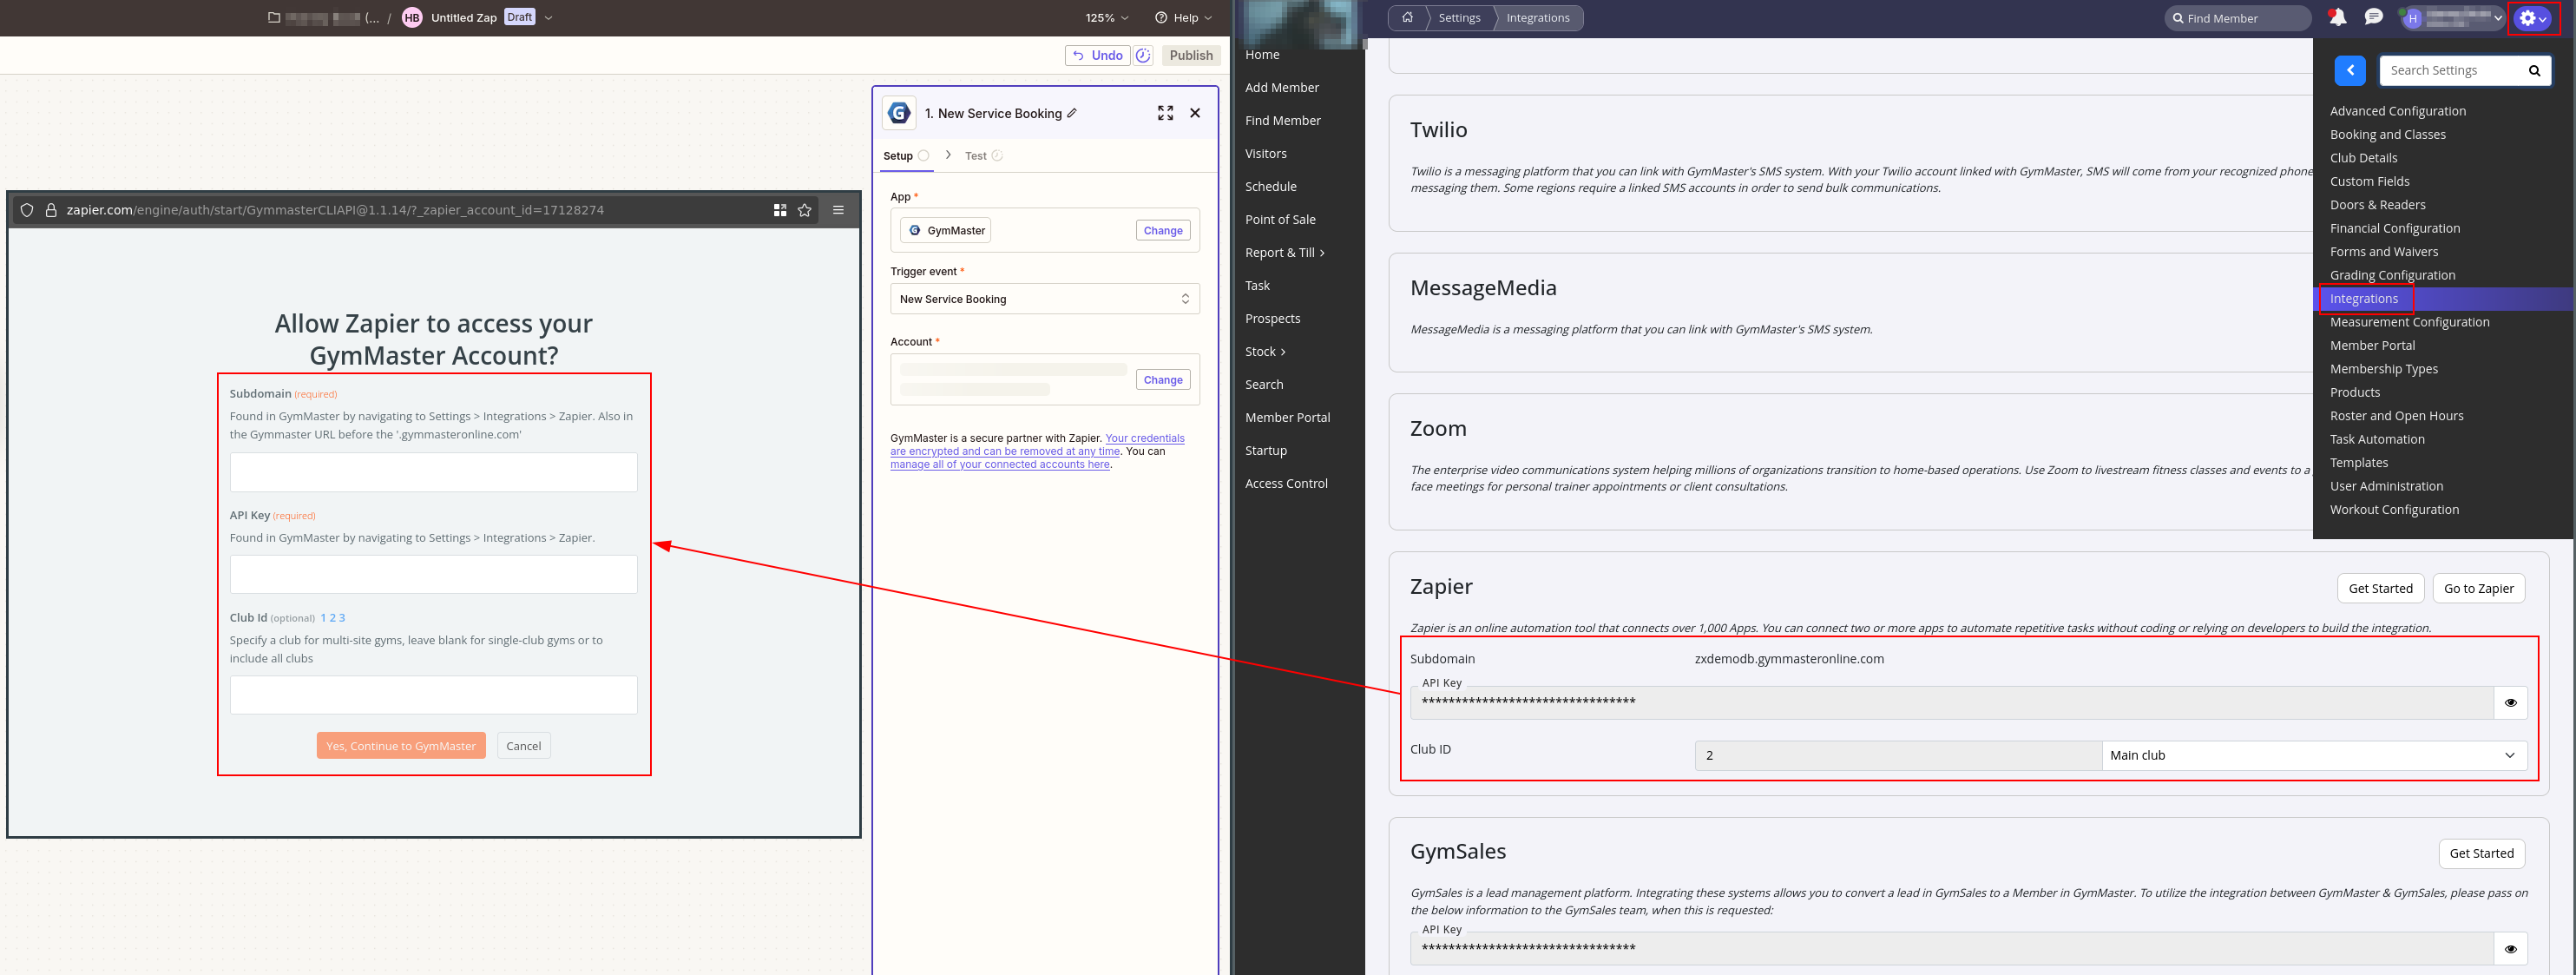
Under “Zapier” Heading
11: Copy the Club Name into the Subdomain section
12: Copy the API Key across to Zapier’s API field
13: Yes Continue
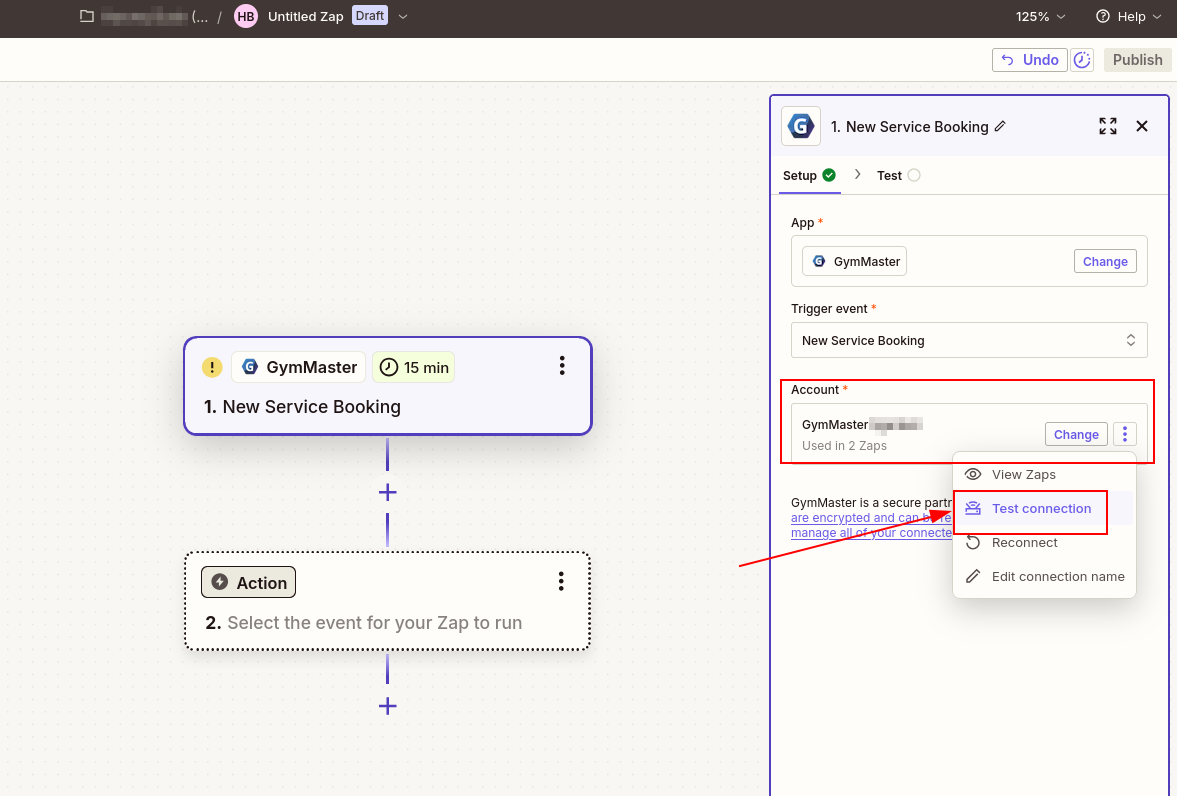
14: Test the Account - Look for Success!
15: Save + Continue
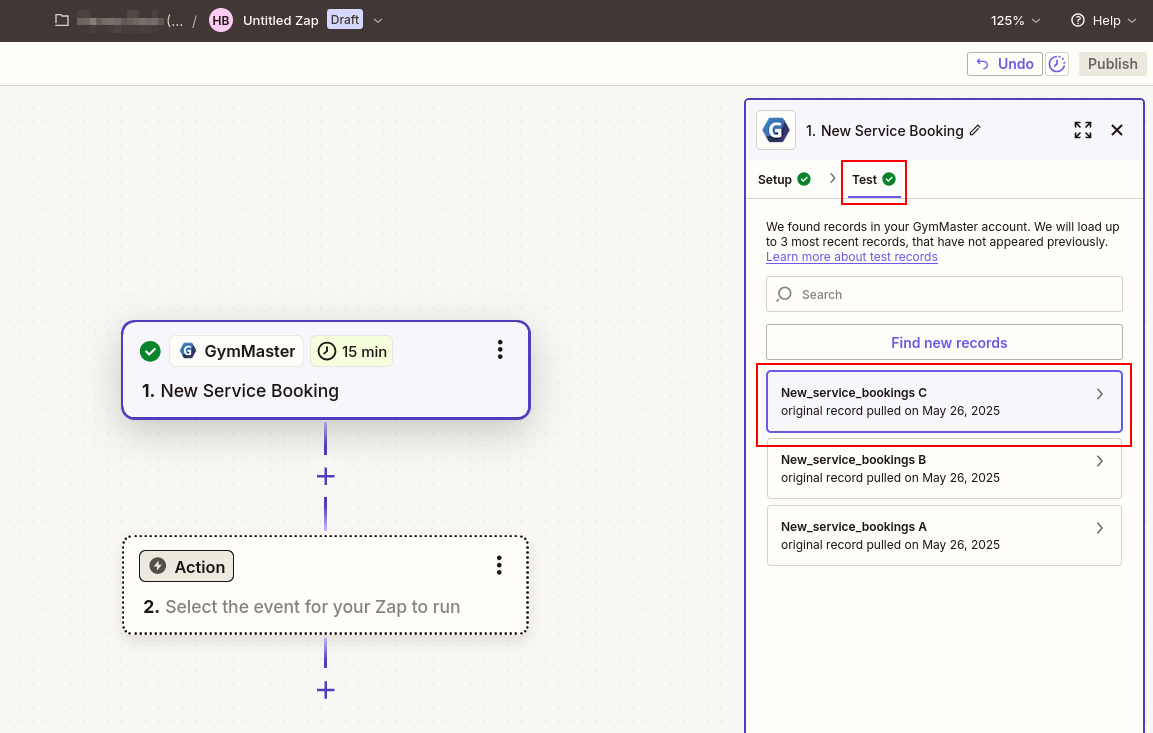
16: Pick a sample to test your zap with and click continue (any of these work it’s not important which you choose)
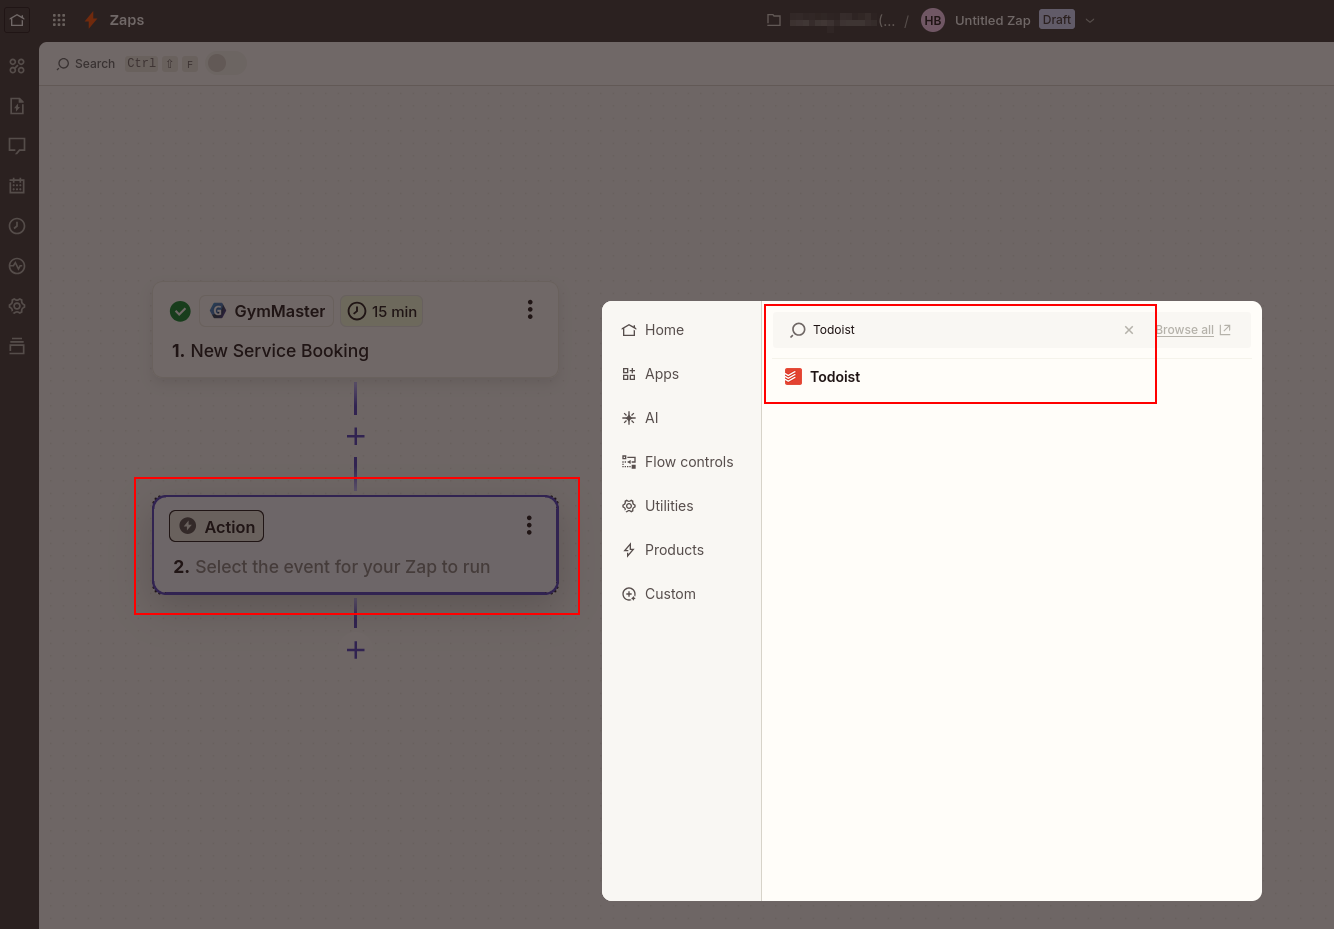
Step 2: Create your Action
1: Create the action you want GymMaster to trigger (for this example we are going create a task within Todoist)
- Select Todoist as the app
- Follow the prompts to link your todoist account
- Choose “Create Task” as the action event
- Select Continue
- Choose the project you want the task to fill
- Write the title you want the task to have and insert data to suit your needs by clicking the + button
- You could assign the task to staff if you have a shared todoist business account
- Set the due date, you can use one of the fields for this or come up with your own
- Set priority and labels if you like (optional)
- Click continue at the bottom of the page
- Send a test action to make sure it’s working
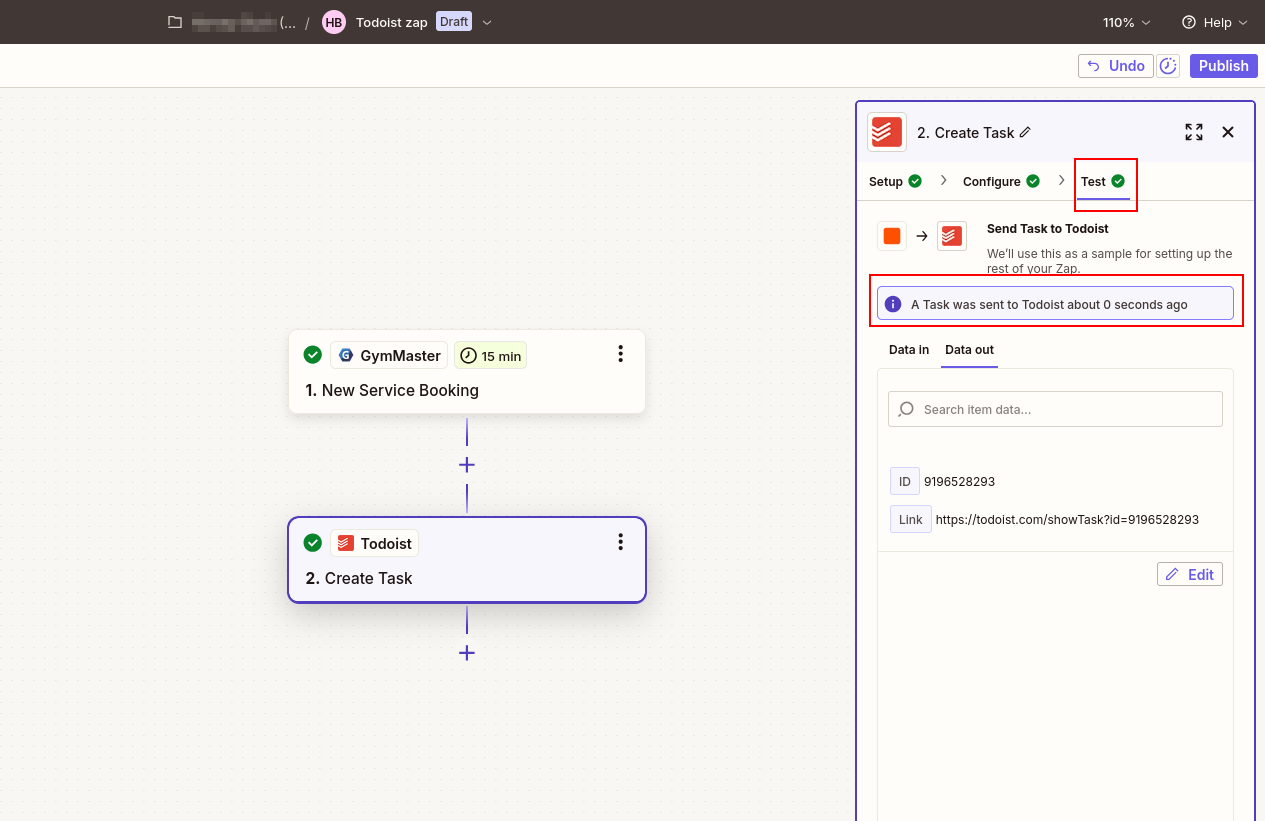
2: Click Publish
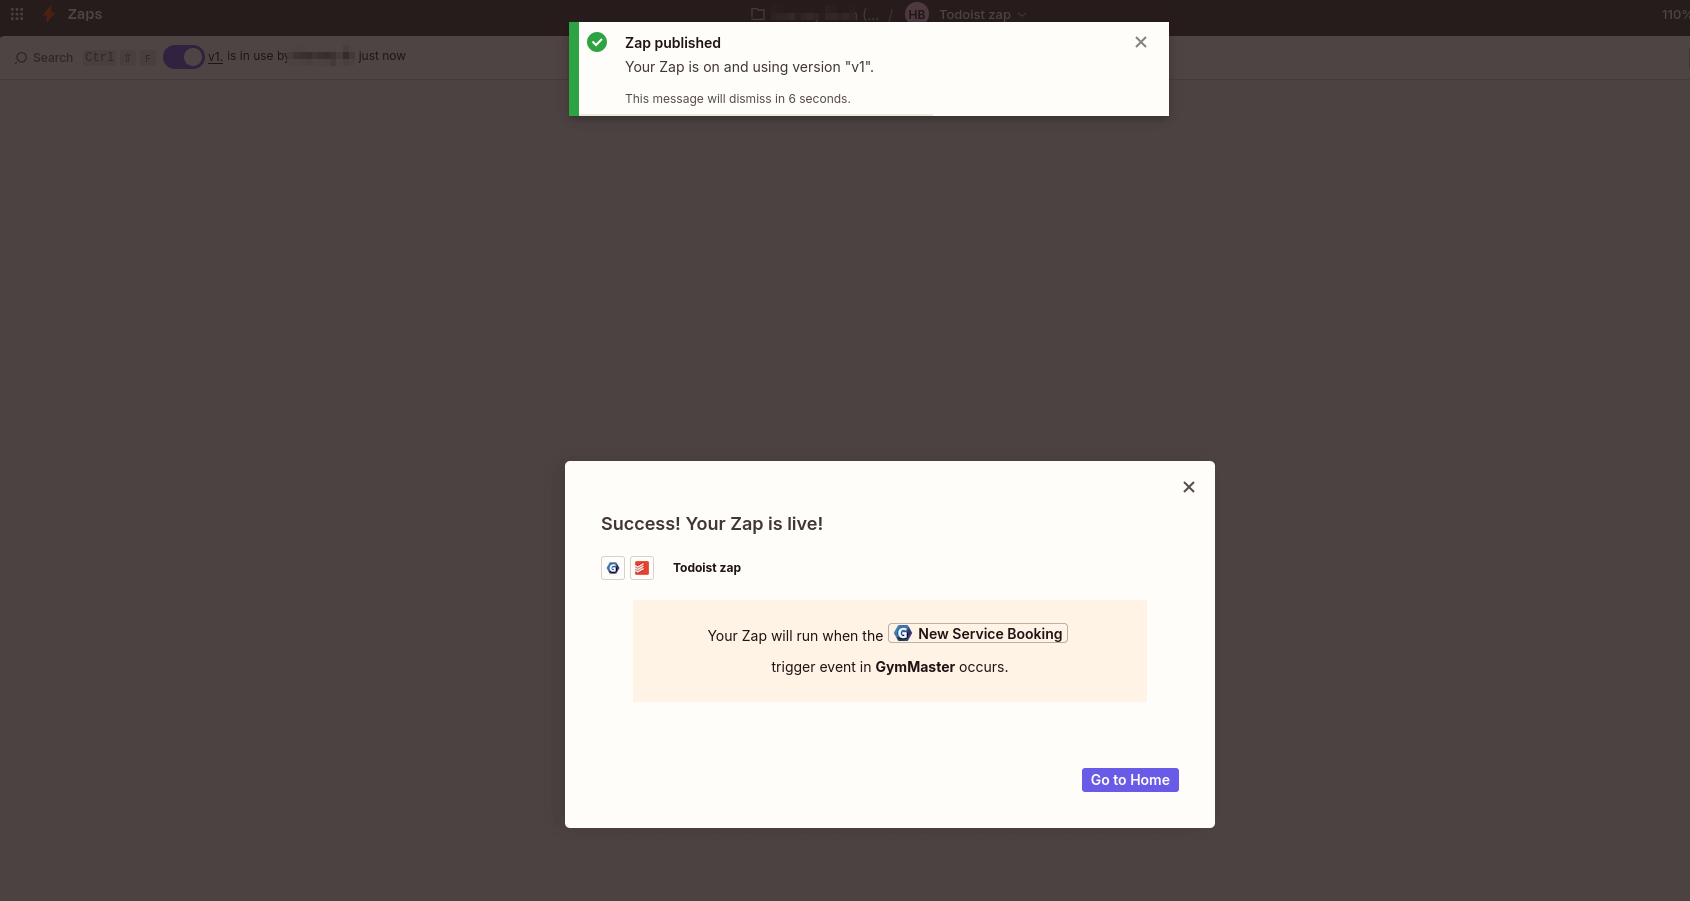
Step 3: Turn on your zap!
Don’t forget to rename your Zap to something you will remember.