
Customise your Account Buttons
2 min read
Updated
2 months ago
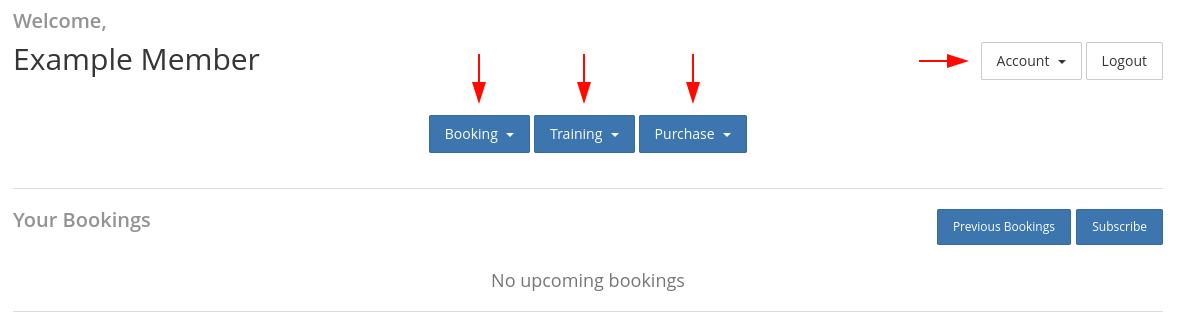
The account drop-down buttons (Booking, Training, Purchase, Account) in the portal can be configured via Settings > Member Portal > Edit Portal Buttons.
On the Edit Portal Buttons page all the available buttons listed with columns for the label that will be displayed in the portal, the button type and indicators icons for where they are shown.
The icons on the shown column are;
| Image | Icon | Meaning |
|---|---|---|
| Globe |

|
Indicates that the button is shown on the Member Portal |
| Phone |

|
Indicates that the button is shown in the Member App |
| Warning |

|
Indicates the configuration in some other area of the system is preventing this button from displaying. |
Hovering over will open a tooltip that explains why it can’t be shown.
Add Book Class / Service Button
- Navigate to the Booking section
- Select Add > Book Class / Service
- Select the specific class / service to filter by
Add Link to Website
- Select Add > static Link
- Then enter the full URL of your club website into the Link field.
To review any changes made login to the Member Portal as a member.
Common Questions this Covers
- How do I customise the buttons shown in the GymMaster Member Portal
- Can I rename or change the labels on Member Portal account buttons
- How do I add a “Book Class” or “Book Service” button in the Member Portal
- How do I link a website or external page from the Member Portal menu
- Why are some Member Portal buttons not showing for members or in the app
Get started with a free, no-obligation chat, and see how we can help you grow

Awards and recognition
- Deloitte Master of Growth Index 2025
- Deloitte Master of Growth Index 2024
- Software Advice FrontRunners 2023
- GetApp Category Leaders 2023
- Capterra Best Value 2022
- GetApp Best Functionality & Features 2022
- Software Advice Most Recommended 2022
- SoftwareSuggest User Most Likely to Recommend Summer 2022
- Software Advice Best Customer Support 2021
- Deloitte Technology Fast 500 Asia Pacific 2018
 2026 © Treshna Enterprises Ltd.